
Step by Step OpenVPN Server tutorial
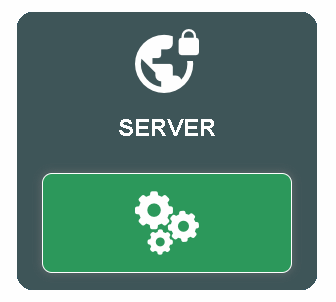
01 Go to ezwizard menu --> Administrator -> Special Add-ons --> OpenVPN
- Click on the configuration button of the SERVER
- Note: if OpenVPN CLIENT is running, you cannot configure the SERVER
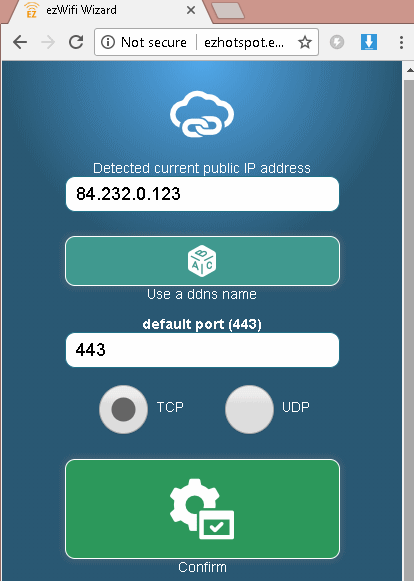
02 Some detected values are pre-filled in for you. Make any changes if needed and click on Confirm button.
- Current IP address - this is the public IP address where this OpenVPN server can be reached on the internet. If your IP addresse changes regularly, you can click on the Use a ddns name button. Check out the Step by Step DDNS tutorial
- Default Port - 443 is the port used by secured websites (for example when you browse to https://www.google.com). It is the port that cannot be never blocked by any public hotspot providers or internet provider
- Default Protocol - TCP is the standard internet protocol for normal internet activities and is recommended. UDP is the protocol mostly used in video streaming, online gaming and VOIP, etc. While it is faster, there is no error correction and there is a slight chance some public hotspot providers may block UDP on Port 443
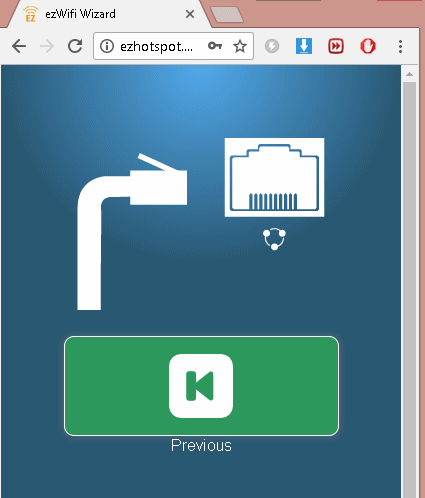
03 The OpenVPN can only work in the Wireless Router Mode. If you are prompted the picture below:
- Plug a network cable on the Blue WAN port of the EZhotspot Extender to the LAN port of your home router
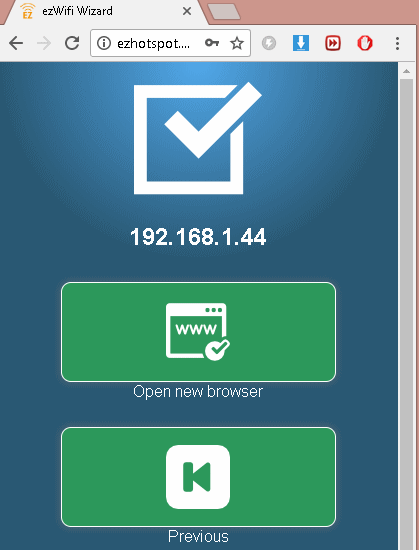
04 After plugging the network cable, Ezhotspot Extender will show the internal IP it was connected to.
- Click on the Previous button to resume configuration
05 Make any changes if needed and click on Confirm button.

06 Some detected values are pre-filled in for you. Click on any to proceed.
- DHCP Server assigned - This option instructs the V4 to be assigned by your home router automatically. This is the easiest but if your home router or the V4 is rebooted, the IP assigned may change and that you need to re-configure the PORT FOWARING / DMZ in your home router (See Step 10) for the OpenVPN to be accessible from the internet
- Manual Configuration - This allows you to manually assign a static internal IP address, Gateway to the V4. This is a better option because if your home router or the V4 is rebooted, the IP on the V4 remains unchanged
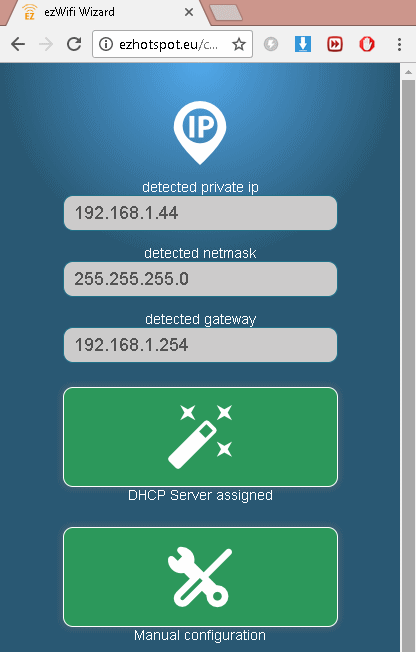
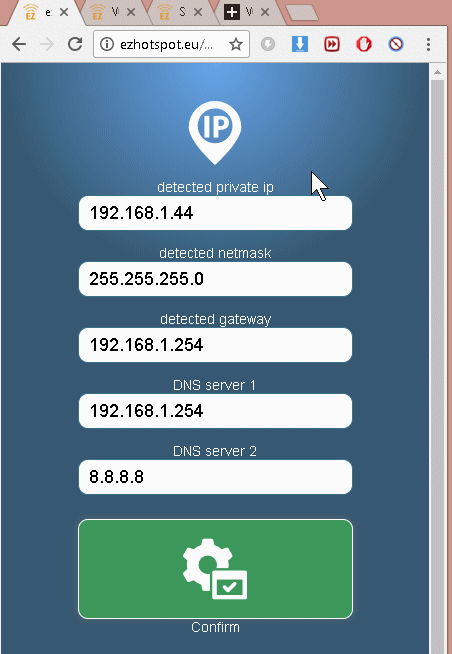
07 Manually assigning a static IP to the EZhotspot Extender WAN Port. The EZhotspot Extender detects the best configuration for you. However, if you need to specifically assign a preferred configuration, you can do it here. Click on Completed button to proceed.
- detected private ip - Unless you specifically know the unused IP to assign, you can use the default detected IP to avoid an IP address conflict with another device currently also connected to your home router
- detected netmask - Unless you specifically know the specific netmask to assign, you can use the default netmask
- detected gateway - Unless you specifically know the specific gateway to assign, you can use the default gateway
- DNS Server 1 - Unless you specifically know the specific DNS server to assign, you can use the default first DNS server which is your home router
- DNS Server 2 - It is pre-filled with 8.8.8.8. This is Google's main DNS server for translating IP numbers into alphabet names
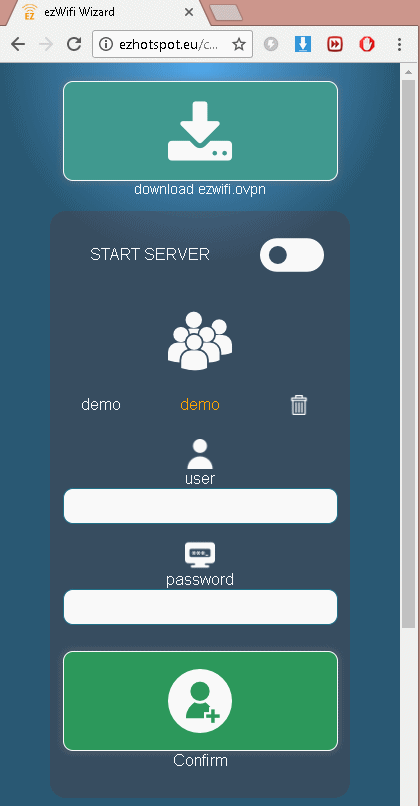
08 Saving the OVPN file and adding of users.
- download ezwifi.ovpn - Click on the button to save a copy of the ovpn file. This ovpn file contains the public location, port, protocol, encryption keys to connect to this OpenVPN Server. The ezwifi.ovpn file can be imported by the free OpenVPN software which is available on Windows, Mac, IOS, Android or even on another V4 when running as a Client
- users - users and their respective passwords have to been assigned before anyone can connect to this OpenVPN server. You can easily add/delete users and pressing on the add user button
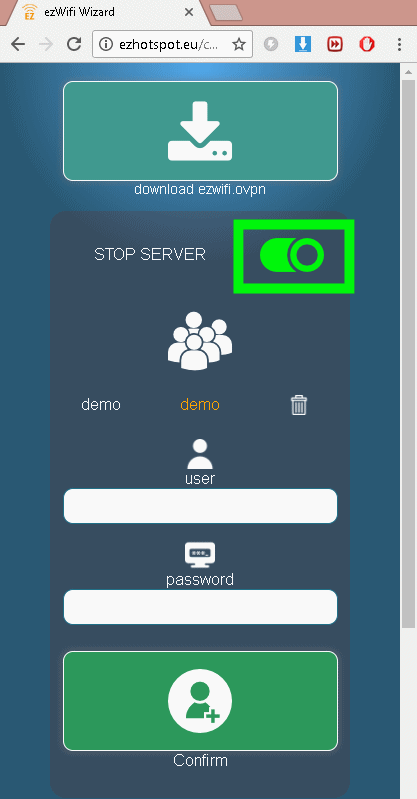
09 Staring and stopping the OpenVPN Server.
- ON/OFF - you can easily start or stop the OpenVPN Server by clicking on the ON/OFF button. When off, the button is white, and when on the button is green
10 Configuration on your home router
- All home routers provided by your internet service providers allow you certain administrative rights such as changing the wireless SSID and passkey. It will also allow you to configure PORT FORWARDING or DMZ which is required for you access to your OpenVPN Server when you are not at home. If you have never configure your home router provided by your internet service provider, you have to start looking for the user name and password to get access to your home router.
- It may be printed underneath the device or on the box supplied
- it may located on your Internet Service provider's website under the support area
- it may be located in forums by simply googling the internet provider, model & default password example "ziggo ubee default password" - Access to your home router using a web browser and typing the IP of the detected gateway in STEP 07
- The Port Fowarding or DMZ function is usually located in the FIREWALL | NAT | ADVANCED menu of your home router.
- Port Forwarding will only forward ONE port to an internal device behind your home router. If using Port Forwarding, you usually have to first create a profile name (ex. OPENVPN) and foward to for example PORT 443, PROTOCOL UDP and IP 192.168.1.44 as used in this tutorial
- DMZ will forward everything to an internal device for example IP 192.168.1.44 as used in this tutorial. If you are currently do not have any port forwarding in your home router, it is also safe to choose DMZ as it is simple and less trouble free and the EZhotspot Extender will only allow the OpenVPN to be accessed and nothing else. - We found a website offering free port forwarding tutorial on many variations of home router provided by Internet Service Provider. You can check if your brand and model is listed for more information. Remember to close the advertistment when prompt to proceed.