
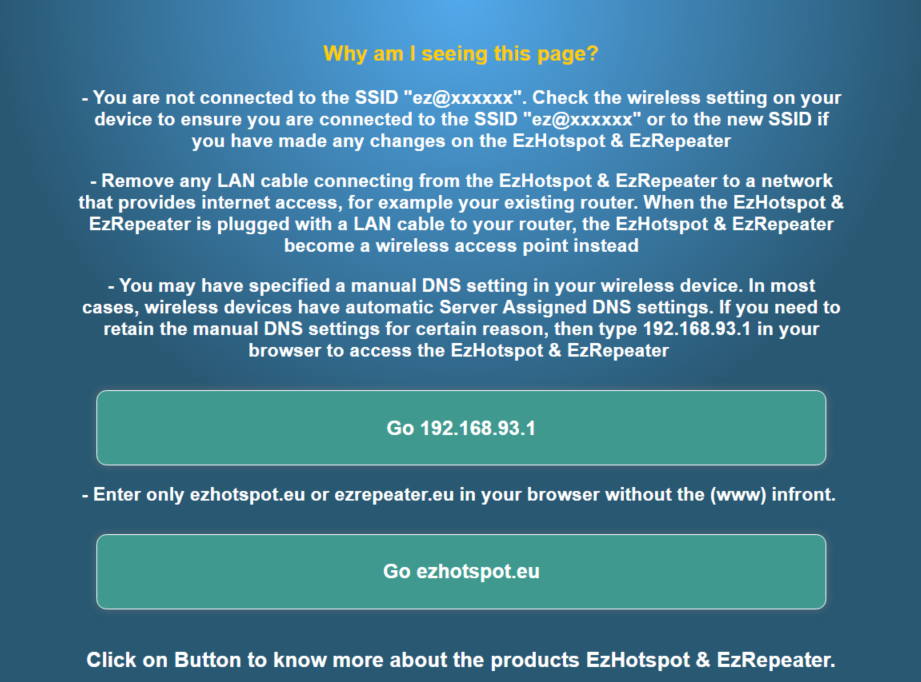
Why am I seeing this page?
If you see this page, it is possible it is a cached data in your browser or your connected device already has internet access by other options, for example connected to another wireless access point. This page will reload every 5 seconds and try to load the Ezwizard Setup page.
If the ezwizard setup page does not load:
- Ensure any network cable is unplugged from the LAN ports
- Ensure your device has connected to the SSID "ez@xxxxxx" successfully and obtained IP address
- Switch off 3G/4G if configuring from a smartphone or tablet with SIM card service
- Ensure that you have not manually specify static IP and DNS server settings in your connected devices
- Open a new incognito browser and type ezhotspot.eu or 192.168.93.1
Note: do not type www in front , for example www.ezhotspot.eu
From version 4.48 and above, the default wireless key of the wireless repeater is initially the same as the remote network when enabled. However, it can be changed as needed in the advanced dashboard.
However, there is no need and you should never use the transparent repeater function in a public hotspot because it will expose all your devices to the public. Some hotspot providers only offer a simply "wireless key" solution for you to get internet access, without any captive portal solution. It is clearly a very cost-down solution and most probably without client isolation ( a function that prevents other people on the same network to see you). You should be careful and just use the ezhotspot in the default mode, because a firewall is enabled to protect your devices.
In the normal mode, the ezhotspot operates like a wireless router. In the transparent repeater, the ezhotspot operates like a wireless access point. See details in below link.
Assuming that you want to have remote access to the ezhotspot extender, for example connecting from thge internet to a ezhotspot extender connected at home; you first need to ensure that the home router has forwarded the necessary ports to where the ezhotspot is located (assigned an IP address). Ports that need to be forwarded are TCP port 80 and TCP/UDP port 443 (if using the built-in VPN server)
- you can use the V4 built-in VPN Server feature. Once connected via the VPN, the web interface address is 10.93.39.1 or 192.168.93.1. Please follow the below link to setup the VPN Server
step-by-step-openvpn-server-tutorial - if other VPN connections are used to access your home network, the WAN port of ezhotspot first need to configured to allow access from the internet. To do, so, go to Advanced Dashboard --> Network --> Firewall --> Zone Settings. Configure the Input & Forward of the WAN zone to accept and click on the SAVE & APPLY button to apply. The Ezhotspot extender can now be accessed on the IP address assigned by your home router or the static IP address assigned.
You can check on an existing article that explains why and the solution on the below link
http://ezwifi.eu/what-why-how/frequently-asked-questions/configuration-performance
The EZhotspot Extender does not support L2TP over IPSec, only PPtP or L2TP where pre-shared key is not required.
There is likely no further development on PPtP/L2TP or L2TP over IPSec on the V4, as
- L2TP over IPSec is deemed less secure as compared to alternative like OpenVPN which has become defacto standard in VPN solution
- L2TP over IPSec is commonly blocked by public hotspots as it uses known static ports
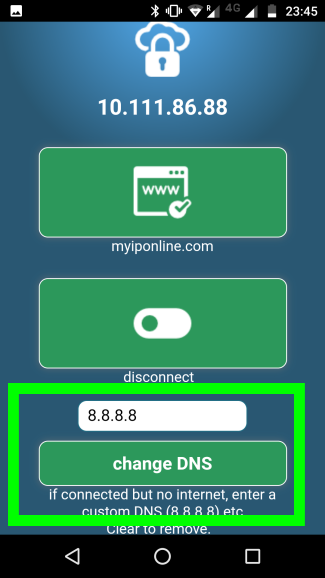
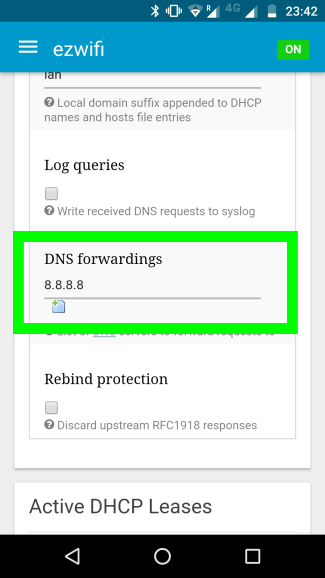
On later firmware versions, you can see the Change DNS button after a successful VPN Client connection. Enter the IP of the customized DNS server as needed and click on the Change DNS button.
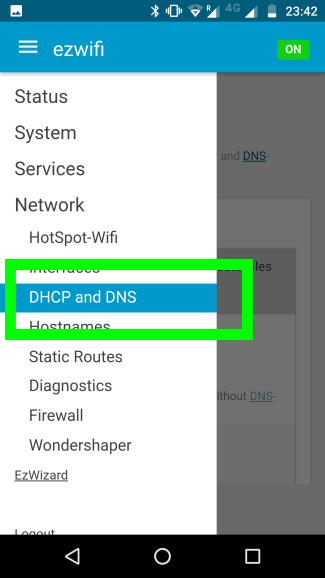
Otherwise, go to Advanced Dashboard --> Network --> DHCP and DNS --> General Settings tab --> DNS Forwardings;
- Enter IP of the customized DNS server
- Scroll to bottom and click on Save & Apply Button
The 192.168.93.XXX range is assigned by the DHCP server of the V4. To use a static IP address of 192.168.93.xxx on your device (for example 192.168.93.123), please refer to the instruction of your device's operating system.
Important note:
- Do not use 192.168.93.1 on your device as it is already used by the V4.
- Always ensure that the static IP address is not being used by other connected devices as it will create a network conflict.
To change the range 192.168.XXX.1
- Go to Advanced Dashboard --> Network --> Interfaces --> My_NETWORK (EDIT)
- Under General Setup --> IPv4 address, change 192.168.93.1 to desired range (for example 192.168.72.1)
- Scroll to bottom and save & apply.
- Disconnected all connected devices and reconnected to V4 to obtain new IP range.
Important note:
- Do not use a public IP address range and only private range as below:
192.168.0.0 – 192.168.255.255
172.16.0.0 – 172.31.255.255
10.0.0.0 – 10.255.255.255 - Changing the standard 192.168.93.XXX range of the V4 may coincide with the same range of remote network (WAN / Wireless / 3G/LTE dongle / Phone sharing) and result in network conflicts. Always avoid:
192.168.0.XXX
192.168.1.XXX
192.168.8.XXX
192.168.88.XXX
192.168.42.XXX
192.168.43.XXX
192.168.100.XXX
172.20.20.XXX
172.20.10.XXX
To revert to factory default if you have forgotten the configurations in the future, you can perform a soft factory reset
The V4 has both built-in DHCP Client and DHCP Server.
- DHCP Client is used when V4 connects to a remote wireless network or is connected by a network cable on the WAN Port (Blue) to another router
- DHCP Server is used to assign IP addresses to wireless devices connected on the SSID "ez@123456" or devices connected via the LAN Port (Yellow) of the V4
It is recommended that the DHCP Client or Server are not disabled on the V4 unless you have a very specific application and a minimal knowledge of TCP/IP.
In the situation where DHCP Server is required to be disabled to connecting clients on the V4:
- Always remember the last IP address of the V4. By default , it is 192.168.93.1 if not changed.
- Go to Advanced Dashboard --> Network --> Interfaces --> My_Network (EDIT) --> DHCP Server --> General Setup --> Ignore interface (tick in box) --> save & apply.
In the situation where DHCP Client is required to be disabled when the V4 has its own static IP while connecting to a remote wireless network:
- First, obtain the necessary networking credentials, such as the static IP address, sub netmask, gateway, DNS servers.
- Join to a remote wireless network that provides DHCP. For example, share your smartphone as a wireless hotspot.
- Go to Advanced Dashboard --> Network --> Interfaces --> Hotspot (EDIT) --> General Setup --> Protocol (select static address) --> SWITCH PROTOCOL (click) --> Enter necessary required credentials (IPv4 address, netmask, gateway DNS servers) --> save & apply.
- Join to the specific remote wireless network that does not provide DHCP.
* Note: ensure all network credentials are correct, otherwise there may be no connectivity even with a successful connection
In the situation where DHCP Client is required to be disabled when the V4 has its own static IP while connecting to another router via the WAN (blue) port:
- First, obtain the necessary networking credentials, such as the static IP address, sub netmask, gateway, DNS servers.
- Go to Advanced Dashboard --> Network --> Interfaces --> PORT_WAN (EDIT) --> General Setup --> Protocol (select static address) --> SWITCH PROTOCOL (click) --> Enter necessary required credentials (IPv4 address, netmask, gateway DNS servers) --> save & apply.
- Connect a network cable on the WAN Port (Blue) to the LAN port of your router.
To revert to factory default if you have forgotten the configurations in the future, you can perform a soft factory reset
Hi,
You can only add the Epson XP-245 to the EZhotspot Extender with free epson software. Please read page 16 of the user manual here below:
ftp://download.epson-europe.com/pub/download/6258/epson625850eu.pdf
and browse here to download the software.
http://support.epson.net/setupnavi/?LG2=EN&OSC=WS&MKN=XP-245&PINF=setup
How to connect to a openvpn server created using pivpn.io with EzHotspot V4?
1. Ensure you first have firmware version 4.06 and above. Check here for details.
2. The ovpn file generated by the pivpn.io has all the necessary credentials stored within and there is no need to enter CA Cert, Client Cert, Private Key or Static Key into the additional fields.
3. The Ezhotspot V4 does not currently support passphrase in private key so a few simple step are required to remove the passphrase
4. Using a text editor. open the opvn file and look for contents BEGIN RSA PRIVATE KEY and copy everything between <key></key> as shown below

5. Open a new text document called oldkey.txt and paste the contents inside.
6. Transfer the oldkey.txt to your Rasberry PI or a Linux based computer.
7. In a command prompt of the Rasberry PI or Linux computer, enter openssl rsa -in /any_directory_folder/oldkey.txt -out /any_directory_folder/newkey.txt.
8. You will now be prompt for the existing passphrase. Enter the passphrase. If correct, you will see "writing RSA key" and a new document newkey.txt is created.
9. Transfer the newkey.txt file from your Rasberry PI or Linux Computer to a USB stick.
10. Copy the entire contents of newkey.txt and overwrite to the entire contents between <key></key> of the ovpn file and save the ovpn file.
11. You can now upload this new ovpn file on the EzHotspot V4.
12. Enter your user and password(passphrase) when configuring on the Ezhotspot V4.
The EZhotspot Extender automatic failover to 3G/4G is automatic (if a 3G/4G dongle is plugged in with the correct configurations) when there is no WAN or wireless.
To prevent it from not happening automatically, you should use the 3G/4G dongle web config to select manually dialup and not automatic dialup or turn off mobile data. See below example.
The Ezhotspot Extender is the one of the few easiest repeater that can repeat a WPA2 Enterprise network. WPA2 Enterprise is a 802.1X that uses either TTLS or PEAP. With the Ezhotspot Extender, you can also upload an optional CA certificate or Client certificate from the advanced dashboard, if it is required by the remote network for you to join to their network.
Example of public WPA2 Enterprise network in the Benelux are SSIDs broadcasting "ziggo", "PROXMIUS AUTO FON", "TELENETWIFREE", "eduroam", etc. These wireless network requires a username and password (optional certificates) before the V4 can repeat the network.
Video Tutorial of Ezhotspot Extender extending a WPA2 Enterprise wireless network such as ziggo.
Use the Scan All Networks. When an authentic Ziggo SSID is selected, the username and password will be required.
Further configuration guide can be found be scrolling to the bottom of the current screen and clicking on the Configuration Guide Button.
For your convenience, the configuration is as below:
Ziggo
UserName=Required
Pasword=Required
EAP-Method=PEAP
Authentication=MSCHAPV2
Radius Server(optional)=Not required
CA Cert=Not required
Client Cert=Not required
You can refer to our online demo at http://demo.ezhotspot.eu:9999
The IP address range 192.168.8.x is commonly used as default by certain brands of routers, USB dongles & MIFI routers such as Huawei. If these devices are used together with the EZhotspot extender, there might be a network conflict,
Kindly perform a factory default to get access to the EzHotspot Extender.
http://www.ezwifi.eu/what-why-how/user-manual/factory-reset/hard-factory-reset
Please write to us separately again if you do need the Ezhotspot extender to be on 192.168.8.1 and we will try to assist you. Please indicate your network situation, requirements and the type router which the Ezhotspot xxtender needs to work with.
There is no specific configuration to be made on the EZhotspot.
Ensure that your NAS is pre-configured for DHCP assigned, so that it will be assigned an IP address by the Ezhotspot when plugged to the LAN port. If you need to assign a static (fixed) IP on the NAS, you should preferably assign it as 192.168.93.252-254, subnet mask, 255.255.255.0. Technically, it must be the same range as what the EZhotspot is broadcasting, for example 192.168.93.X, if you have not change the default configuration of the EZhotspot.
When other connecting devices connected to the Ezhotspot are also assigned to the same IP range as your NAS, for example 192.168.93.X, the network discovery function of the operating system such as Windows, IOS, Linux and Android will automatically prompt the NAS's name when any SMB application is being used.In the example of Windows, it will be the Network icon in the folder menu. In the example of an Android device, it will be the ASTRO file manger app.
Almost all NAS use SMB networking protocol and when the connecting clients are on the same IP range and the NAS, or also referred to as the subnet, the SMB protocol is propagated/spread across the entire same subnet network (192.168.93.X).
The LAN (Yellow) ports and the SSID broadcasted by the EZhotspot (ez@XXXXXX) is a transparent bridge/switch. Like any passive unmanaged networking switch/hub, there is no pre-configured blocking, isolation or firewall to block devices within the same network range.
Hint:
- Ensure the NAS is on the same network range as what the EZhotspot is broadcasting.
- Ensure the privileges on your NAS are properly configured.
Go to the EZwizard --> Advanced Dashboard --> Network --> DHCP and DNS menu.
Scroll to the bottom to see Static Leases.
Click on ADD button.
Under MAC-Address column, dropdown field automatically detects MAC addresses already joined or select CUSTOM and enter the MAC address accordingly.
Under IPv4-Address column, dropdown field automatically detects IP addresses already assigned or select CUSTOM and enter the required IP address accordingly.
Entering a Hostname is optional and easier identification. Entering a value will overwrite any existing name that the connected device is using. For example in the case of a Windows laptop, the name is the Computer name found in the Control Panel --> System --> Computer name, domain, and workgroup settings.
If necessary, click on ADD button to assign additional MAC addresses.
Click on SAVE & APPLY to effect the change.
Disconnect any connected devices and join again to obtain the static IP lease by MAC address as assigned by the EZhotspot Extender.
The Ezhotspot Extender will work with the Chromecast by default and does not requires further setting. There is no client isolation or AP isolation enabled on the EZHotspot Extender. If you have made any other configurations, it is recommended to make a Soft Factory Reset and try again.
- Always ensure you have the latest Google chromecast firmware installed.
- Always ensure you have the latest version of Chromecast app installed in your phone or tablet.
- Always ensure you use the power adapter supplied with the Chromecast. Do Not use the USB power from your TV USB port as it does not have sufficient power required for the Chromecast to work properly. The power from TV USB port is usually only 5V/500mA. The Chromecast needs 5V/1000mA ~ 5V/1500mA, depending on the model.
- Always ensure you have the latest Ezhotspot Extender firmware installed
http://ezwifi.eu/what-why-how/firmware
Setting up Chromecast with V5 video
We cannot answer this question because it depends on:
- the firmware version of the google chromecast
- whether the media is stored locally or on the internet
- whether the device intending to cast, has a separate internet connection such as 4G
The best possibilities to find out are:
- test the setup at home with your home wifi. Unplug the ADSL (phone)cable, Co-axial (TV) cable or the Fiber cable. This method, the private network and wifi of your home router are still working but there is no internet access. If you can succeed in casting to the chromecast, it will not be a problem on the Ezhotspot extender without an internet gateway when you are a the campsite without internet connection.
- make this inquiry to Google or find out more on the chromecast community. https://support.google.com/chromecast/community?hl=nl
We hope that you can understand the Ezhotspot is a transportation platform for your other connected networking devices. It cannot manipulate how apps on your phone or tablet behave and override any dependencies for the app, casting devices to work correctly. The EZhotspot Extender is just like your home router, only that you have the possibility to use it outside your home.
When the Guest network is enabled, the toggle switch becomes Green in the Guest Network menu.Click on the Green toggle switch to disable it.
You can use the My SSID, Key & Channel menu. It is found under the Configuration & Status menu.
When you click on the Configuration & Status , more options are dropped down which will also include the My SSID, Key & Channel
http://ezwifi.eu/what-why-how/user-manual/configuration-status/my-ssid-key-channel
netwerkcentrum refers to the wireless settings of the connecting devices such as phones, tablets or laptop.
For Apple devices, kindly see below link:
For Android devices, kindly see below link:
For Windows 10, kindly see below link:
For MAC, kindly see below link:
https://support.apple.com/en-us/HT201974

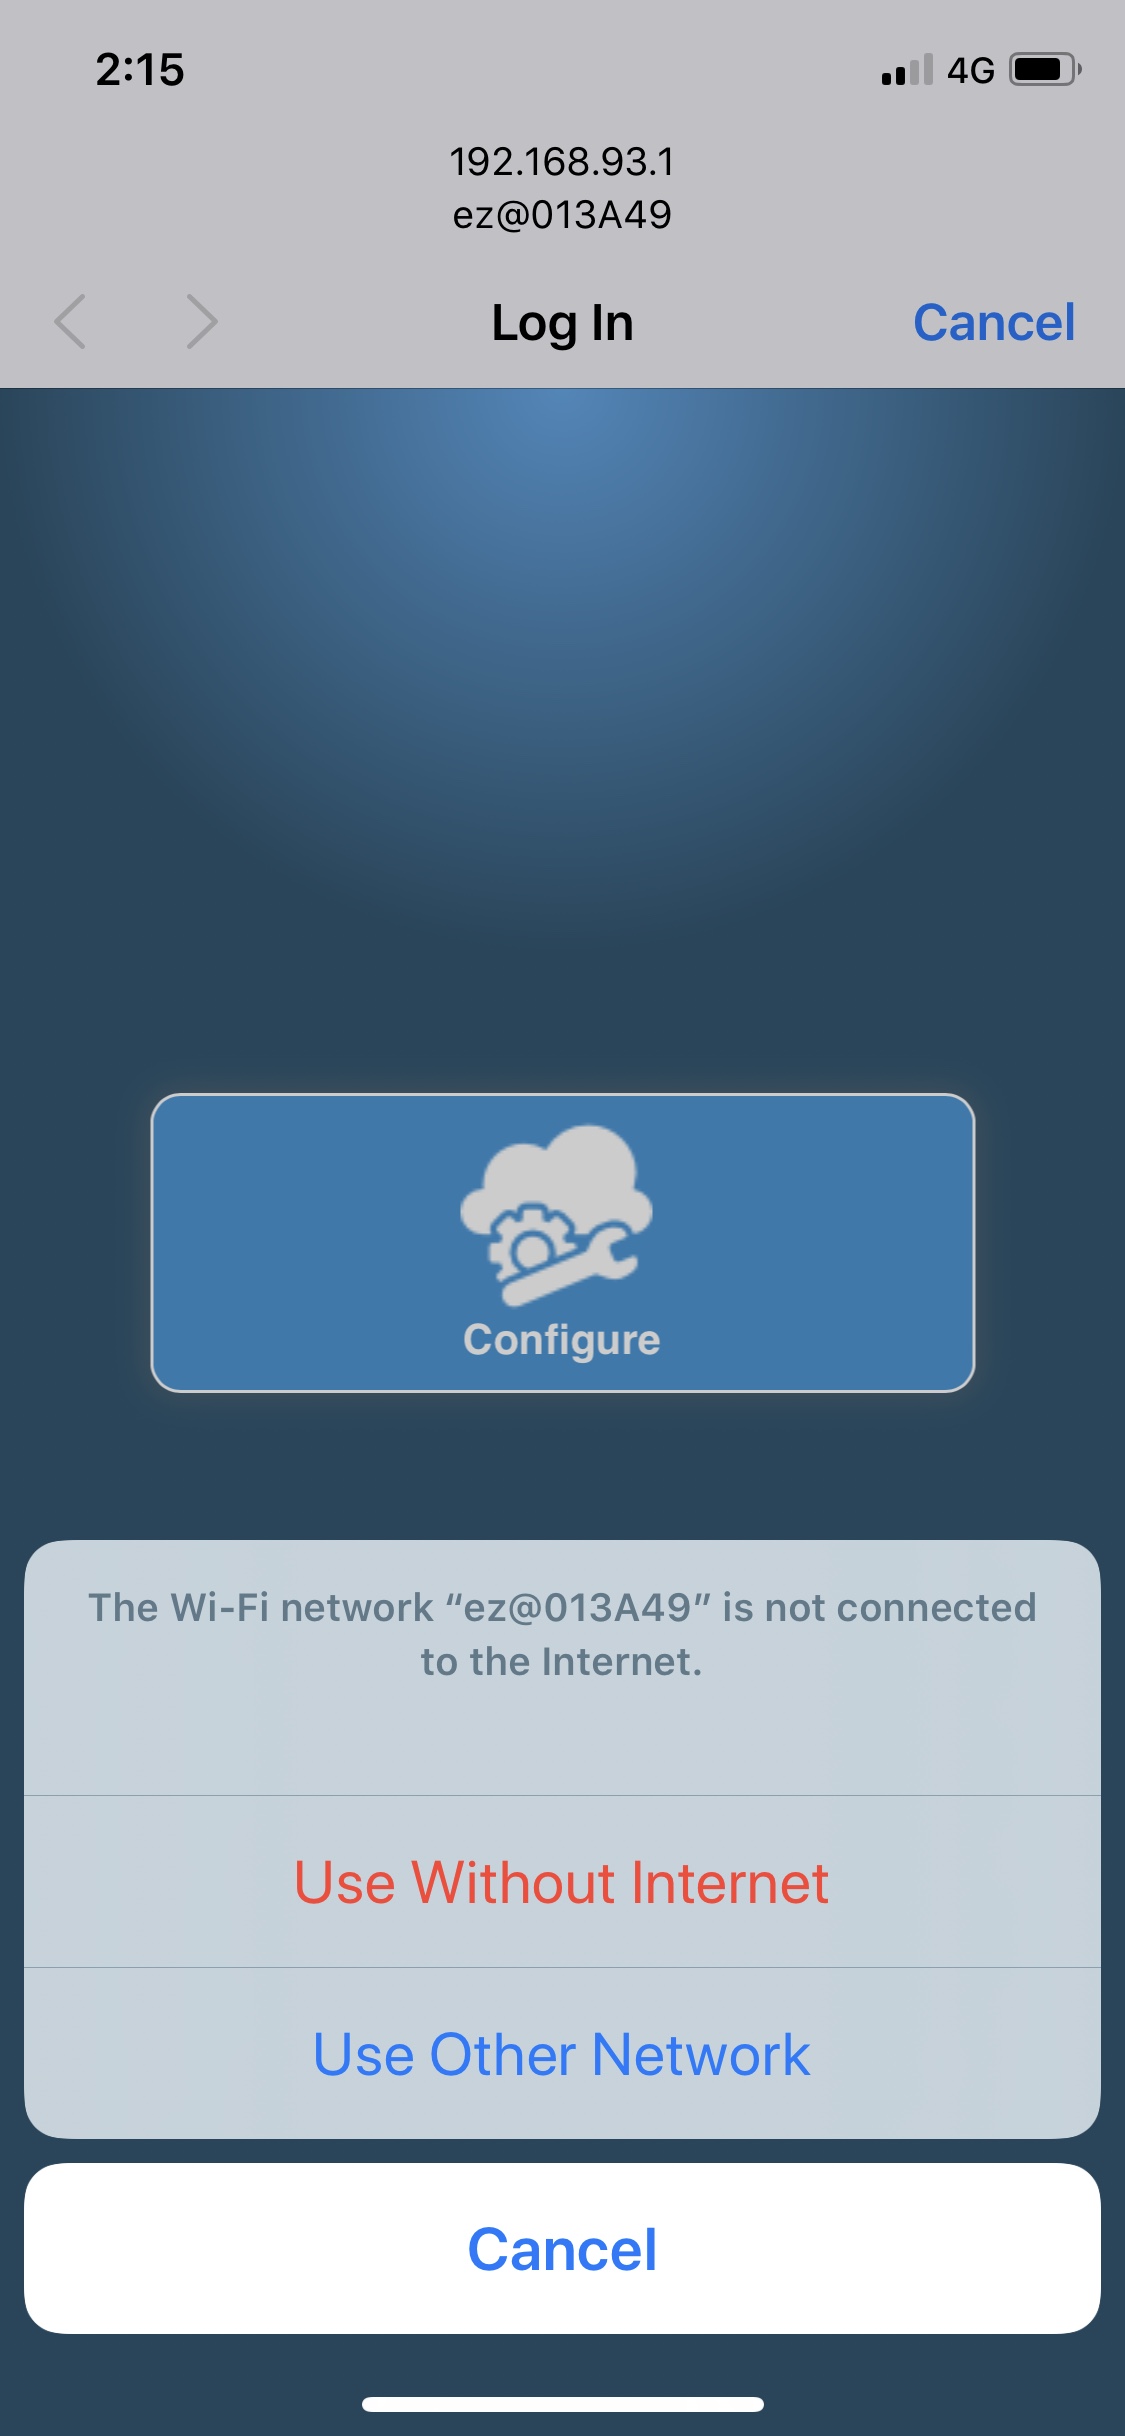
Captive Portal
This usually happens when you are configuring from an IOS / Apple device. There are 2 options to bypass this situation:
Option 1:
- When the portal pops up, click on the Cancel o the upper right of the screen.
- Select the Use Without Internet
This option will alllow you to open your normal browser to http://ezhotspot.eu for further configuration.
Note: Delete the old network in the Saved Connections to prevent the EZhotspot Extender from joining to it in future.
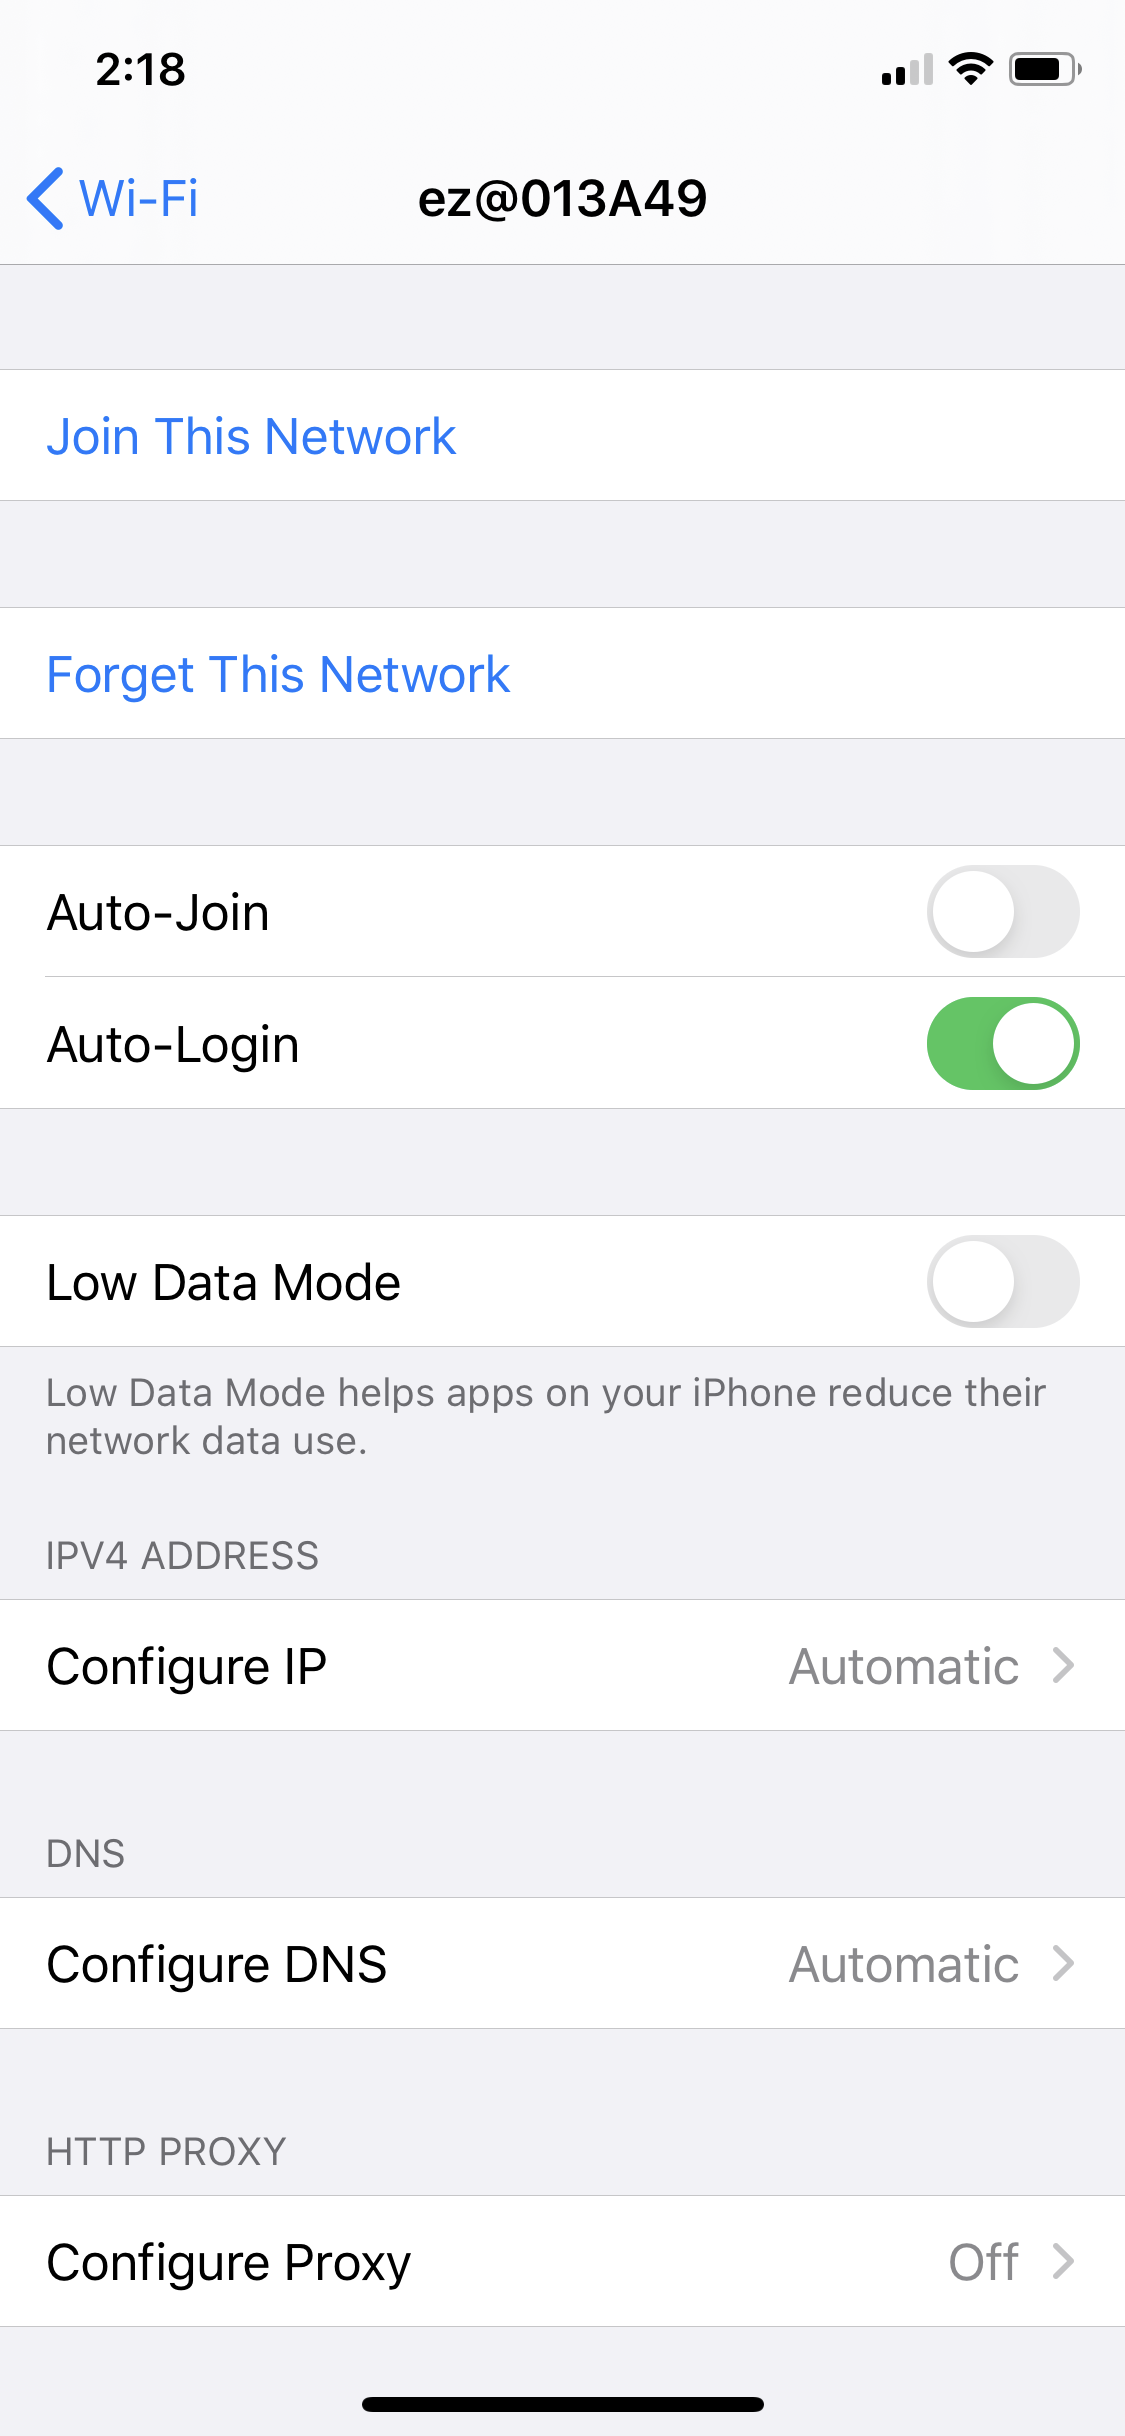
Option 2:
- Go the Settings --> Wi-Fi menu of your IOS device
- Find the Ezhotspot Extender's SSID (ez@XXXXXX)
- On the right is the info ⓘ icon and click on the ⓘ icon
- When the next menu is prompted, Disable the Auto-Login
When this option is disabled, you will have to manually type http://ezhotspot.eu in your browser in the future after joining ez@XXXXXX. No pop-ups will be prompted for the Configuration menu nor any captive portal pop-ups.
You will have to click on the Open New Browser in the Ezwizard menu or type a address such such http://checkip.amazonaws.com/ in your browser to trigger any captive portal / splash page.
There are many possibilities, but in your siituation; we will recommend you to perform a Hard Factory reset to start afresh again. With Hard Factory Reset, the EZhotspot Extender will entirely forget about the all the remote networks joined.
http://ezwifi.eu/what-why-how/user-manual/factory-reset/hard-factory-reset